IPHONE • DAILYTECH.ID - Ever wondered how to screenshot on iPhone like a pro? You’re in the right place! Taking a screenshot on iPhone might seem straightforward, but Apple has packed in some incredibly useful features that can seriously level up your game. Whether you’re capturing a funny meme, an important document, or a long webpage, mastering these tricks will make your iPhone even more indispensable. Get ready to discover some awesome shortcuts and methods that’ll make you wonder how you ever lived without them.
In this article, we’ll dive deep into five essential screenshot tricks for iPhone users in 2025. We’re talking beyond the basic button press here. From capturing an entire scrolling page to taking a screenshot without even touching a button, we’ve got you covered. These methods are designed to be quick, efficient, and super helpful in your daily digital life.
So, if you’re ready to unlock the full potential of your iPhone’s screenshot capabilities and become a true power user, keep reading! Let’s transform the way you capture screen on iPhone and make your digital life a whole lot easier.
1. How to Screenshot iPhone Without Buttons
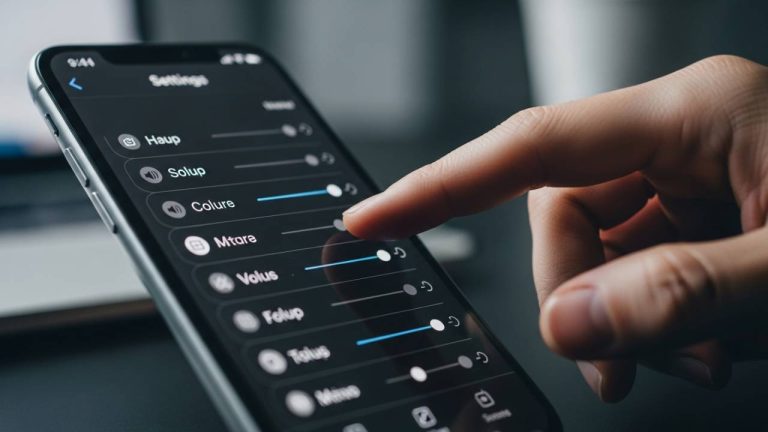
Tired of fumbling with buttons? Good news! You can take screenshot on iPhone without pressing a single physical button, thanks to Accessibility features. This is a game-changer, especially if your buttons are a bit finicky or you just prefer a touch-based approach. We’re talking about AssistiveTouch and Back Tap here, two incredibly handy tools.
Using AssistiveTouch
AssistiveTouch puts a virtual button on your screen that you can customize with various shortcuts, including taking a screenshot. Here’s how to set it up:
- Go to Settings > Accessibility > Touch > AssistiveTouch.
- Toggle AssistiveTouch on. You’ll see a small circular button appear on your screen.
- Tap the button, then tap Device. You’ll see an option for Screenshot.
Now, whenever you want to capture screen on iPhone without buttons, just tap the AssistiveTouch button, then Device, then Screenshot. Easy peasy! For more details, check out our guide on how to screenshot iPhone without buttons.
Using Back Tap
This one is truly magical. Back Tap allows you to trigger actions by simply tapping the back of your iPhone. Yes, really! You can set a double-tap or triple-tap to take screenshot on iPhone.
- Go to Settings > Accessibility > Touch > Back Tap.
- Choose either Double Tap or Triple Tap.
- Scroll down and select Screenshot.
Now, a quick double-tap or triple-tap on the back of your iPhone, and voila – you’ve got your screenshot! This is arguably the fastest and most seamless way to take screenshot on iPhone without pressing buttons. Learn more about this cool feature at how to screenshot iPhone by tapping.
2. How to Screenshot Long Page iPhone (Full Page Screenshots)
Ever needed to capture an entire webpage or a long document that scrolls beyond what’s visible on your screen? The standard iPhone screenshot shortcut only captures what’s currently displayed. But there’s a trick to screenshot and scroll on iPhone to get the whole thing! This feature is incredibly useful for saving articles, receipts, or any content that extends beyond a single screen.
Here’s how to screenshot entire page on iPhone:
- Take a regular screenshot (Power button + Volume Up button for iPhones with Face ID, or Home button + Power button for iPhones with Touch ID).
- Immediately tap the thumbnail preview that appears in the bottom-left corner of your screen before it disappears.
- At the top of the screen, you’ll see two options: Screen and Full Page. Tap Full Page.
- You can then scroll through the entire page on the right side and make any necessary edits or annotations.
- Tap Done and choose whether to Save PDF to Files.
This amazing feature creates a PDF of the entire scrolling content, which is perfect for archival or sharing. For a more detailed walkthrough, check out our articles on how to screenshot long page iPhone and how to screenshot and scroll on iPhone. You can also find more information on how to screenshot entire page on iPhone.
3. Mastering the Screenshot Editor: How to Edit Screenshot on iPhone
Taking a screenshot is often just the first step. The built-in screenshot editor on your iPhone is a powerful tool that lets you crop, annotate, add text, and even sign documents right after you capture screen on iPhone. Don’t just save and forget; give your screenshots that extra polish!
When you take a screenshot, tap the thumbnail preview that appears in the bottom-left corner. This opens the editor. Here are some of the fantastic tools at your disposal:
- Crop: Drag the corners of the screenshot to trim unwanted areas.
- Markup Tools: Use the pen, highlighter, and pencil tools to draw or write on your screenshot. You can change colors and line thickness.
- Eraser: Made a mistake? The eraser tool lets you fix it.
- Ruler: For precise straight lines.
- Shapes: Add circles, squares, or speech bubbles.
- Text: Tap the ‘+’ icon, then ‘Text’ to add typed words. You can change font, size, and color.
- Signature: Tap the ‘+’ icon, then ‘Signature’ to add your digital signature. Super handy for quick document signing!
- Magnifier: Tap the ‘+’ icon, then ‘Magnifier’ to highlight a specific part of your screenshot with a magnified circle.
Once you’re done editing, tap Done in the top-left corner and choose whether to Save to Photos or Delete Screenshot. Learning how to edit screenshot on iPhone is crucial for making your captured images truly useful.
4. Turning Off the Screenshot Sound on iPhone
That shutter sound every time you take screenshot on iPhone can be annoying, especially if you’re in a quiet environment or taking multiple screenshots. Luckily, there’s an easy way to silence it! While there isn’t a dedicated “screenshot sound off” setting, the sound is tied to your iPhone’s ringer volume.
Here’s how to turn off screenshot sound on iPhone:
- Silent Mode: The simplest way is to flip the Ring/Silent switch on the side of your iPhone (above the volume buttons) to silent mode. When your iPhone is in silent mode, the screenshot sound will be muted.
- Volume Down: Alternatively, you can simply turn your iPhone’s volume all the way down using the Volume Down button. When your media volume is at zero, the screenshot sound will also be muted.
Keep in mind that silencing your iPhone will also mute incoming calls and notification sounds, so remember to turn the volume back up or switch off silent mode when you need to hear alerts again. Find out more about this at how to turn off screenshot sound on iphone.
5. Quick Access and Management of Your Screenshots
After you capture screen on iPhone, where do they go, and how can you quickly find them? All your screenshots are saved to your Photos app, making them easy to access and manage.
Finding Your Screenshots
- Recents Album: All screenshots automatically appear in your Recents album in the Photos app.
- Screenshots Album: For easier organization, your iPhone also automatically creates a dedicated Screenshots album within the Photos app. Just open Photos, tap on Albums at the bottom, and scroll down until you see Screenshots under “Media Types.”
Sharing and Deleting Screenshots
Once you’ve taken and perhaps edited a screenshot, you have several options:
- Share: From the Photos app, select the screenshot and tap the Share icon (the square with an arrow pointing up). You can then share it via AirDrop, Messages, Mail, or any other app you have installed.
- Delete: To delete a screenshot, select it in the Photos app and tap the trash can icon in the bottom-right corner. This is especially useful if you took a quick screenshot for a temporary purpose and don’t want it cluttering your photo library.
Regularly managing your screenshots helps keep your photo library tidy and ensures you can always find what you need quickly. This is part of being a savvy iPhone user and mastering the overall iPhone screenshot method. For a comprehensive overview of iPhone screenshot tips, don’t forget to check out our main page on take a screenshot on iPhone.
Conclusion
You’ve just unlocked some serious iPhone power! Mastering these five screenshot tricks will undoubtedly boost your productivity and make your iPhone experience even smoother. From capturing long pages to taking screenshots without pressing a single button, you’re now equipped with the knowledge to handle almost any screen-capturing scenario. Remember, your iPhone is packed with hidden gems, and knowing these iPhone screenshot shortcuts can truly make a difference in your daily digital interactions.
Here’s a quick recap of the essential iPhone screenshot method tricks you’ve learned:
- Button-Free Screenshots: Utilize AssistiveTouch or the incredible Back Tap feature.
- Full Page Screenshots: Capture entire scrolling pages as a PDF from the screenshot editor.
- Powerful Editing: Crop, annotate, add text, and even sign documents right after taking a screenshot.
- Silent Screenshots: Mute the screenshot sound by putting your iPhone in silent mode or lowering the volume.
- Easy Management: Quickly find, share, and delete your screenshots from the dedicated “Screenshots” album in Photos.
Keep experimenting with these tips, and you’ll be a screenshot wizard in no time!