APPS • DAILYTECH.ID - If you have ever tried to manage a project or organize a grocery list inside a document, you know that a plain bulleted list just doesn’t cut it. You need that satisfying “click” to mark a task as done. Whether you are building a professional project tracker, a simple chore list, or a feedback form, knowing how to insert a checkbox in Google Docs is a game-changer for your workflow.
Gone are the days of manually typing “X” inside brackets. Google Docs now features native, interactive checkboxes that allow you to toggle tasks on and off with a single click. In this guide, we’ll walk through every method—from desktop shortcuts to mobile workarounds—to help you master document interactivity.
Quick Answer: To insert a checkbox in Google Docs, click the Checklist icon in the top toolbar or go to Format > Bullets & numbering > Checklist menu. These checkboxes are interactive; clicking one will toggle a checkmark. You can also right-click the checkbox to choose whether or not you want the text to have a strikethrough when checked.
Insert Checkbox in Google Docs Using the Checklist Tool
The most straightforward way to add a checkbox is using the built-in Checklist tool. This tool was specifically designed to replace the old-fashioned way of using square bullet points.
The Toolbar Method (The Fastest Way)
- Highlight the text you want to turn into a checklist.
- Look at the top toolbar (near the bulleted list icon).
- Click the Checklist icon (a small square with a checkmark).
- Your list will instantly transform into a series of clickable checkboxes.
The Format Menu Method
If your toolbar is hidden or you prefer using menus:
- Go to the top menu and click Format.
- Hover over Bullets & numbering.
- Select Checklist menu.
- Choose the style you prefer (either with or without automatic strikethrough).
How to Insert a Clickable Checkbox in Google Docs
Unlike static symbols or images, the checkboxes in Google Docs are interactive. This means they behave like a functional app rather than just a printed page.
When you click an empty checkbox:
- A blue checkmark appears.
- The box changes color slightly to indicate it’s “active.”
- (By default) The associated text gets a strikethrough.
Limits vs. Form Fields: It is important to note that these checkboxes are for “live” document editing. If you export your Google Doc as a PDF, these checkboxes will become static images and will no longer be clickable. If you need a digital form that people can fill out without editing the document, you might want to use Google Forms instead.
Insert Checkbox in Google Docs Without Strikethrough
A common complaint among users is the “strikethrough” effect. By default, when you check a box, Google Docs crosses out the text. This is great for a grocery list, but not ideal for a professional form where you just want to indicate a “Yes” or “No” selection.
How to disable the strikethrough:
- Insert your checklist as usual.
- Click the small arrow next to the Checklist icon in the toolbar.
- You will see two options:
- One shows a checked box with a line through the text.
- The other shows a checked box with clean text.
- Select the second option. Now, when you click the checkbox, the text remains perfectly legible.
Insert Checkbox in Google Docs With Strikethrough
For those who love the “Done” feeling, the strikethrough is a visual reward. This is the default behavior of the checklist tool.
When to use it:
- Daily To-Do Lists: Seeing items crossed off helps track progress.
- Shared Project Tasks: It prevents team members from accidentally re-doing work that is already finished.
- Editing Checklists: Use it to track which paragraphs or chapters have been reviewed.
To control this styling, simply highlight your list and toggle between the two checklist styles in the toolbar menu.
How to Insert Checkbox in Google Docs Table
Using checkboxes inside a table is the best way to create professional-looking logs, such as attendance sheets or inventory trackers.
- Create your table: Go to
Insert > Tableand select your dimensions. - Place your cursor: Click inside the cell where you want the checkbox.
- Insert the checkbox: Click the Checklist icon in the toolbar.
- Alignment: To center the checkbox, highlight it and use the Center Align tool (
Ctrl + Shift + E).
Common Mistake: Sometimes users try to copy-paste a checkbox into a table and find that it brings unwanted formatting with it. It is always better to use the toolbar icon directly inside the cell to ensure it stays aligned with your text.
Insert Multiple Checkboxes in Google Docs
If you need to create a large batch of checkboxes, you don’t have to do them one by one.
- The Bulk Method: Type out your entire list first. Highlight all the lines, then click the Checklist icon once. Every line will get its own checkbox.
- Side-by-Side Checkboxes: Google Docs doesn’t natively support “columns” for checkboxes easily. The best workaround is to insert a 2-column table, hide the table borders (set border width to 0pt), and put checkboxes in both columns. This creates a clean, side-by-side layout.
How to Insert Checkbox in Google Docs on Mobile
Managing tasks on the go is essential. Whether you are on Android or iPhone/iPad, the process is slightly different than on a desktop.
Android and iOS Steps:
- Open the Google Docs app and enter Edit mode (tap the pencil icon).
- Highlight the text or tap where you want the list to begin.
- Look for the Checklist icon in the bottom formatting bar (it’s usually next to the bullet point icon).
- Tap it to insert the checkbox.
What mobile can’t do yet: On the mobile app, you may find it harder to customize the strikethrough settings compared to the desktop version. Additionally, “Right-clicking” to modify specific checkbox properties is limited on touch screens.
Insert Yes or No Checkbox in Google Docs
If you are designing a survey or a simple “Yes/No” form, you can use the side-by-side table method mentioned earlier.
- Insert a table with two cells.
- Type “Yes” in the first cell and “No” in the second.
- Insert a checkbox before each word.
- Pro Tip: If you want a “Yes or No” checkbox that looks like a formal application, use the Special Characters menu (
Insert > Special Characters) and search for “Square” to find an empty box that isn’t clickable but looks very professional for printed forms.
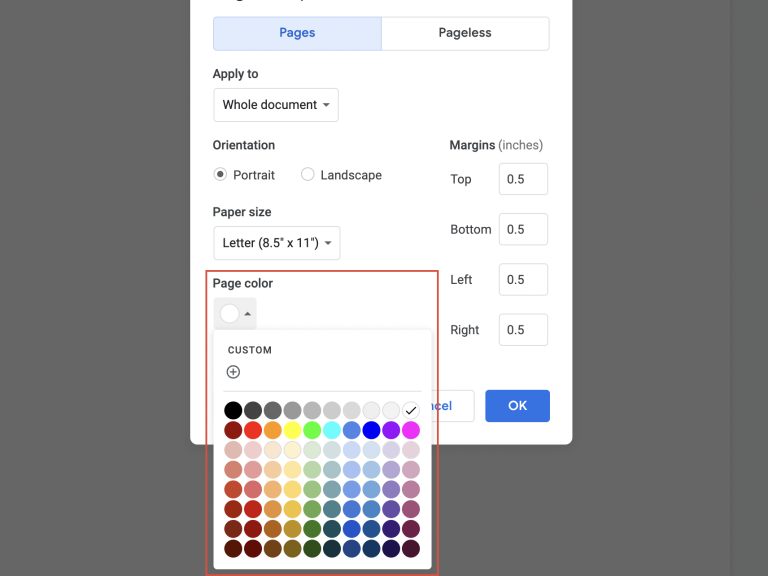
Insert Small or Custom-Style Checkbox in Google Docs
Sometimes the native checklist is too large or doesn’t fit your aesthetic. In these cases, you can use symbols.
- Font-based alternatives: Use the Wingdings or Segoe UI Symbol fonts if you are on a system that supports them.
- The Symbol Workaround: 1. Go to Insert > Special Characters.2. Search for “Square” or “Checkbox.”3. Select a symbol like ☐ (U+2610) or ☑ (U+2611).
- When to use this: Use symbols when you want a “small checkbox” that doesn’t trigger the automatic checklist formatting or when you need the checkbox to stay “empty” regardless of who clicks it.
Checkbox vs. Checklist vs. Bullets in Google Docs
It’s easy to confuse these three, but they serve very different purposes:
| Feature | Visual Style | Interaction | Best Use Case |
| Bullets | Dots, arrows, or squares | Static | General lists with no “done” state. |
| Checklist | Clickable squares | Interactive (Toggles) | Task management and to-do lists. |
| Checkbox (Symbol) | Various square icons | Static | Printed forms or decorative layouts. |
Common Issues When Inserting Checkboxes in Google Docs
1. Checkbox Option Missing
If you don’t see the checklist icon, you might be using an outdated version of the browser, or your document might be in “Suggestion” mode. Ensure you have editing permissions and are in “Editing” mode.
2. Strikethrough Won’t Turn Off
If the text keeps crossing out and you don’t want it to, make sure you’ve selected the correct checklist style from the dropdown menu (the one without the line through the text).
3. Mobile App Limitations
If you are on an older tablet, the checklist feature might appear as standard bullets. Ensure your app is updated to the latest version via the App Store or Google Play.
Google Docs Checkboxes vs. Google Sheets Checkboxes
While both tools allow for checkboxes, they behave very differently.
- Google Docs: Checkboxes are for visual organization and simple task tracking within a narrative. You cannot “count” how many boxes are checked using a formula.
- Google Sheets: Checkboxes are data points. You can use a formula like
=COUNTIF(A1:A10, TRUE)to see how many tasks are completed.
The Verdict: Use Google Docs for lists that are part of a document. Use Google Sheets if you need to track data, create charts, or manage a massive project with 50+ items.
FAQs – How to Insert Checkbox in Google Docs
Select the checklist from the toolbar, click the small dropdown arrow next to the icon, and choose the option that shows a checkmark without a line through the text.
Yes! The native “Checklist” feature is fully clickable. However, this interactivity only works within Google Docs itself, not in exported PDF or Word files.
Simply click inside any table cell and select the Checklist icon from the toolbar. You can then align it like regular text.
Open the document in the mobile app, enter edit mode, and tap the Checklist icon in the formatting toolbar at the bottom of the screen.
Docs checkboxes are for simple, visual task tracking. Sheets checkboxes are “True/False” logic gates that can be used in complex mathematical formulas and data analysis.