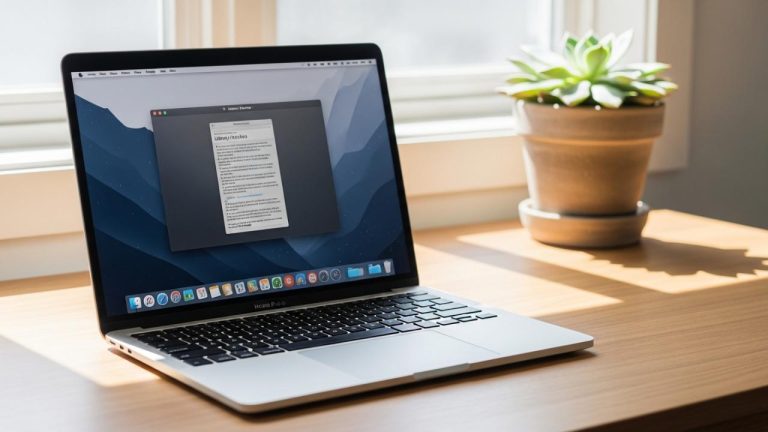
LAPTOP • DAILYTECH.ID - Is your once-speedy MacBook Pro now lagging? Are you seeing that dreaded spinning beachball more than your desktop? Before you blame the hardware, the culprit is often a mountain of hidden “junk” files. Learning how to clear cache on macbook pro is a game-changing fix that can reclaim gigabytes of space and make your Mac feel new again. This comprehensive guide will show you exactly how to clear cache on macbook pro safely, even if you’re not a tech wizard.
Your Mac will feel faster, apps will launch quicker, and you’ll free up precious storage space. Let’s get started.
Understanding What “Cache” Is and Why It Slows You Down
Before we start deleting things, let’s quickly cover what cache even is. Think of cache as your Mac’s short-term memory.
When you use an app or browse a website, your Mac saves temporary files (like images, scripts, and data) in a cache folder. The next time you open that app or site, your Mac pulls from this cache instead of re-downloading or re-creating everything from scratch. In theory, this makes everything faster.
So, what’s the problem?
Over time, this cache can grow to an enormous size—we’re talking gigabytes of data. Worse, these files can become outdated, corrupted, or “rotted.” When this happens, the cache stops being a helper and starts being an anchor. Your Mac has to sift through gigs of useless junk just to find the file it needs, which can slow everything down.
Clearing it out gives your Mac a fresh start, forcing it to create new, clean files as needed. This is a key step to optimize mac performance by clearing cache.
The 3 Types of Cache Files You Can Remove on Mac OS
Not all cache is created equal. On your MacBook Pro, data is primarily stored in three different “buckets.” Knowing the difference is key to cleaning your Mac safely.
- Browser Cache: This is the most common one. Safari, Chrome, and Firefox save tons of data from websites. While it helps your favorite sites load instantly, it’s also a major source of bloat and can track your activity.
- User Cache (or App Cache): This is the biggest one for most people. Every app you use—from Spotify to Photoshop to Slack—creates its own cache files. This is usually the main culprit when you’re trying to free up space on your MacBook Pro.
- System Cache: These are files created by macOS itself to keep the operating system running smoothly. This cache is generally smaller and more sensitive.
For 99% of users, clearing the Browser Cache and User Cache is perfectly safe and delivers the biggest performance boost. We’ll start there.
How to Clean MacBook Pro Cache Manually (The User Cache)
This is the big one. This process will show you how to delete cache on MacBook apps and reclaim the most space. It looks a little technical, but if you follow these steps precisely, it’s perfectly safe.
CRITICAL FIRST STEP: Back up your Mac!
Before you delete anything from a Library folder, please run a Time Machine backup. Grab an external hard drive and let it run. It’s highly unlikely anything will go wrong, but a backup turns a potential “oops” into a non-issue.
Step 1: Open the “Go to Folder” Window
First, you need to get to the hidden Library folder where your cache lives.
- Click on your Finder icon (the smiling face) in your Dock.
- In the menu bar at the top of the screen, click Go.
- Hold down the Option (⌥) key on your keyboard. You’ll see Library magically appear in the menu.
- Alternatively, you can skip the Option key and just click Go > Go to Folder… from the menu.
Step 2: Navigate to the User Cache Folder
If you used the “Go to Folder…” option, a small window will pop up. This is where you’ll tell your Mac exactly where to go.
- Type the following path exactly as written:~/Library/Caches
- The tilde
~symbol is a shortcut for your personal user folder. It’s crucial. - Click Go.
Step 3: How to Safely Remove Cache Files
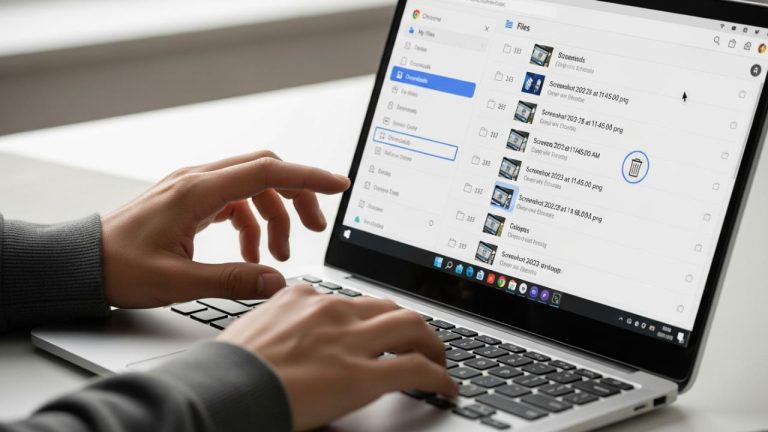
A new Finder window will open, revealing a folder stuffed with other folders. These folders, named things like com.apple.Safari or com.spotify.client, are your app caches.
- Click inside the
Cachesfolder window. - Press Command-A (⌘-A) on your keyboard to select everything inside this folder.
- Right-click on any of the selected folders and choose Move to Trash. You can also just drag the entire group of folders to your Trash icon in the Dock.
- Your Mac will ask for your password to confirm. Go ahead and enter it.
Don’t worry! You are not deleting the apps themselves, just their temporary files. When you relaunch an app, it will simply create a new, clean cache folder if it needs one.
You can find more cleaning ideas in our collection of articles here: How to Clear Cache on Mac.
Step 4: Empty the Trash to Free Up Space
The job isn’t done until the trash is empty.
- Right-click on the Trash icon in your Dock.
- Select Empty Trash.
- Confirm the action. This will permanently delete temporary files and finally reclaim your disk space.
How to Clear System Cache MacBook Pro (For Advanced Users)
This section targets the other cache folder. While the User Cache (~/Library/Caches) is almost always safe to clear, the System Cache (/Library/Caches) is a bit more sensitive.
You generally don’t need to touch this one unless you’re troubleshooting a specific system-level problem. The User Cache we just cleared provides 90% of the benefit.
However, if you’re determined to clear system cache macbook pro, the process is nearly identical.
- Open Finder and click Go > Go to Folder…
- This time, type the path without the ~ symbol:/Library/Caches
- Click Go.
- This folder contains cache files for the core operating system.
- Again, you can press Command-A to select all, or you can be more selective and only delete the contents inside folders like
com.apple.AppStore. - Drag them to the Trash and Empty the Trash.
After clearing the system cache, it’s always a good idea to restart your MacBook Pro.
The Easy Win: How to MacBook Clear Browser Cache
Your web browser is likely the single biggest cache hoarder on your machine. Clearing it not only frees up space but can also fix weird website loading issues. Here’s how to do it in the most popular browsers.
How to clear the cache in Safari
Apple made this a little hidden, but it’s easy once you know the trick.
- Open Safari. Click Safari in the top menu bar, then Settings… (or Preferences…).
- Go to the Advanced tab.
- At the very bottom, check the box that says: Show Develop menu in menu bar.
- Close the Settings window. You will now see a new Develop menu at the top of your screen (between Bookmarks and Window).
- Click Develop, and then select Empty Caches.
That’s it. No data is lost, but websites will load fresh copies next time you visit.
How to clear the cache in Google Chrome
Chrome makes it a bit more obvious.
- Open Chrome. In the top menu bar, click Chrome > Clear Browsing Data…
- A new tab will open. Select the Advanced tab.
- For the “Time range,” select All time.
- Important: You only want to clear the cache. Uncheck “Browsing history,” “Cookies and other site data,” and “Passwords…”
- Leave only Cached images and files checked.
- Click the blue Clear data button.
How to clear the cache in Firefox
Firefox is also very straightforward.
- Open Firefox. Click History in the top menu bar, then Clear Recent History…
- Set the “Time range to clear” to Everything.
- In the “History” box, uncheck everything except for Cache.
- Click OK.
Using Terminal: How to Clear Cache Mac Terminal (For Pros)
If you’re comfortable with command-line tools, you can use the Terminal to clear cache mac terminal directly. This is fast, but be careful—a typo here can delete the wrong things.
Warning: This is for advanced users. Always double-check your commands.
- Open the Terminal app (you can find it in Applications > Utilities, or by searching with Spotlight).
- To clear your User Cache, you can navigate to the folder first:
cd ~/Library/Caches/ - Then, you can remove all files and folders inside it with this command:
rm -rf * - The
*symbol means “everything” in the current directory. The-rfflags mean “recursively” (delete folders and their contents) and “force” (don’t ask for confirmation on every file). - You can do the same for the System Cache by changing the directory:
cd /Library/Caches/sudo rm -rf * - Notice the
sudocommand. This means “Super User Do,” and it’s required for system folders. It will ask for your password. Be extremely careful when usingsudo rm -rf.
For most people, the manual Finder method is much safer and just as effective. This MacBook cleanup guide is about safety first!
Frequently Asked Questions About Clearing Your Mac’s Cache
Yes, it is very safe to clear your User Cache (~/Library/Caches) and your Browser Caches. These files are designed to be temporary. Your apps and macOS will automatically recreate any files they need. Just be more cautious with the System Cache (/Library/Caches).
For most users, you don’t need to do this obsessively. Clearing your cache every 2-3 months, or simply whenever you notice your Mac slowing down or running low on space, is a perfect strategy.
No. The cache does not store your personal documents, photos, or music. When clearing browser data, as long as you only check the box for “Cached images and files” (and not “Cookies” or “Passwords”), all your logins will remain safe.
Clearing the User Cache is one of the fastest ways. Other great methods include emptying your Trash, deleting old iOS backups in Finder, and running the “Optimize Storage” tool found in Apple Menu > About This Mac > Storage > Manage.
Clearing the cache is a powerful fix, but it’s not a silver bullet. If you’re still slow, you may have too many apps running at login, not enough RAM for your workflow, or a hard drive that is too full (even after clearing the cache).
Your Mac, Now Faster and Cleaner
See? That wasn’t so scary. You’ve just performed a digital tune-up that most Mac users don’t even know is possible. By manually cleaning out the clutter, you’ve taken control of your Mac’s performance and likely reclaimed a significant amount of disk space.
You are now fully equipped with the knowledge of how to clear cache on macbook pro. Enjoy your faster, cleaner, and more responsive machine.
Quick Summary: Key Cache Cleaning Steps
- Back Up Your Mac: Always run a Time Machine backup before starting.
- Clear User Cache: Use Go > Go to Folder… and
~/Library/Cachesto delete app cache. - Clear Browser Cache: Use the settings in Safari, Chrome, or Firefox to empty caches.
- Clear System Cache (Optional): Use
/Library/Cachesfor system files if needed. - Empty the Trash: This is the final step to reclaim your disk space.
These are the essential steps in this MacBook cleanup guide. Make this part of your regular maintenance routine, and your Mac will thank you for it.